🔗 Affiliate Disclosure: As an Amazon Associate, Tech Rig Review earns from qualifying purchases. Links on this page may be affiliate links — at no extra cost to you.
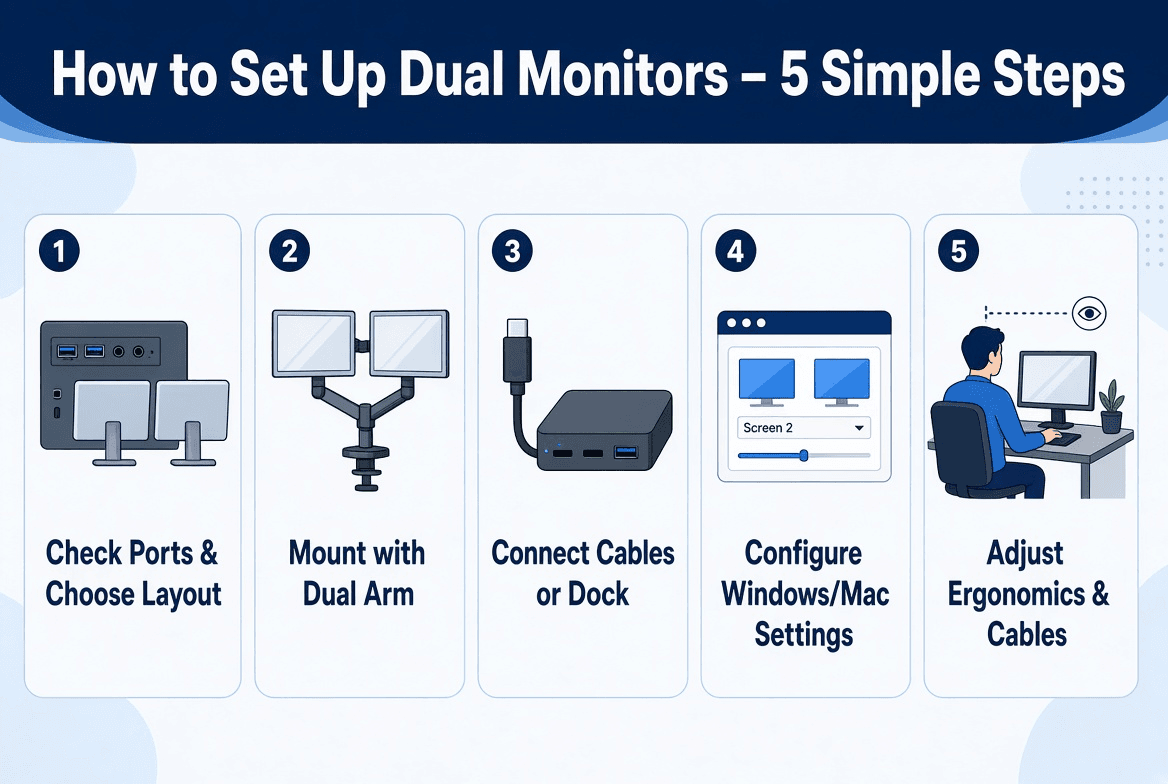
A dual monitor setup is one of the biggest productivity upgrades you can make to a home office. Studies and real-user patterns show it can boost output significantly by letting you keep reference material, chat, email, or a second app open without constant tab-switching.
This guide walks you through everything: checking ports, choosing cables or a docking station, physical placement for neck health, software configuration on Windows and macOS, cable management, and the Amazon products that actually work right now. We researched current listings, buyer feedback patterns, and specs so the recommendations stay practical.
Internal links point to related gear reviews on TechRigReview.com so you can keep building a complete desk. External sources include established ergonomic and setup guides.
Table of Contents
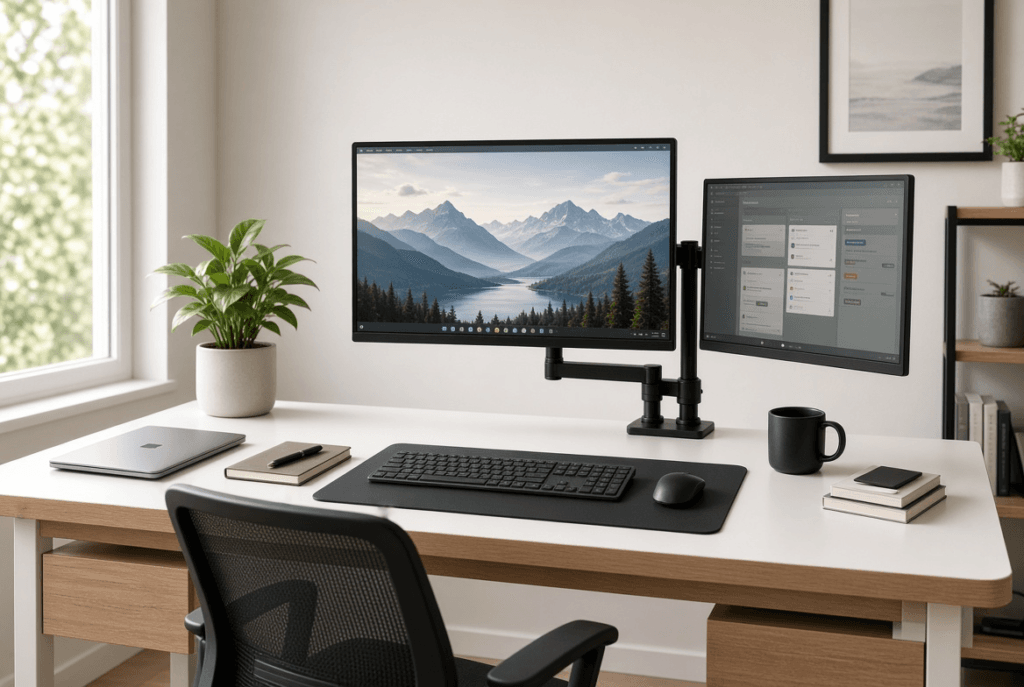
What You Need Before You Start
- Two monitors (matching size and resolution preferred — 24–27 inch 1440p is the sweet spot for most desks).
- Compatible video ports on your computer or a USB-C/Thunderbolt dock.
- Correct cables (HDMI, DisplayPort, or USB-C with DisplayPort Alt Mode).
- A dual monitor arm or stand if you want height adjustment and desk space.
- Basic tools for mounting (usually included with arms).
Check your laptop or desktop outputs first. Most modern machines support at least two external displays. For laptops with limited ports, a docking station simplifies everything to one cable.
For monitor recommendations, see our roundups: 10 Best 4K Monitors for Home Office Under $300 and 10 Best Dell Monitors on Amazon.
Step 1: Choose Your Layout and Mount
Decide the physical arrangement before buying hardware:
- Side-by-side (most common) — primary centered, secondary angled 15–30° inward.
- Primary + portrait secondary (great for code, documents, or chat).
- Stacked (narrow desks).
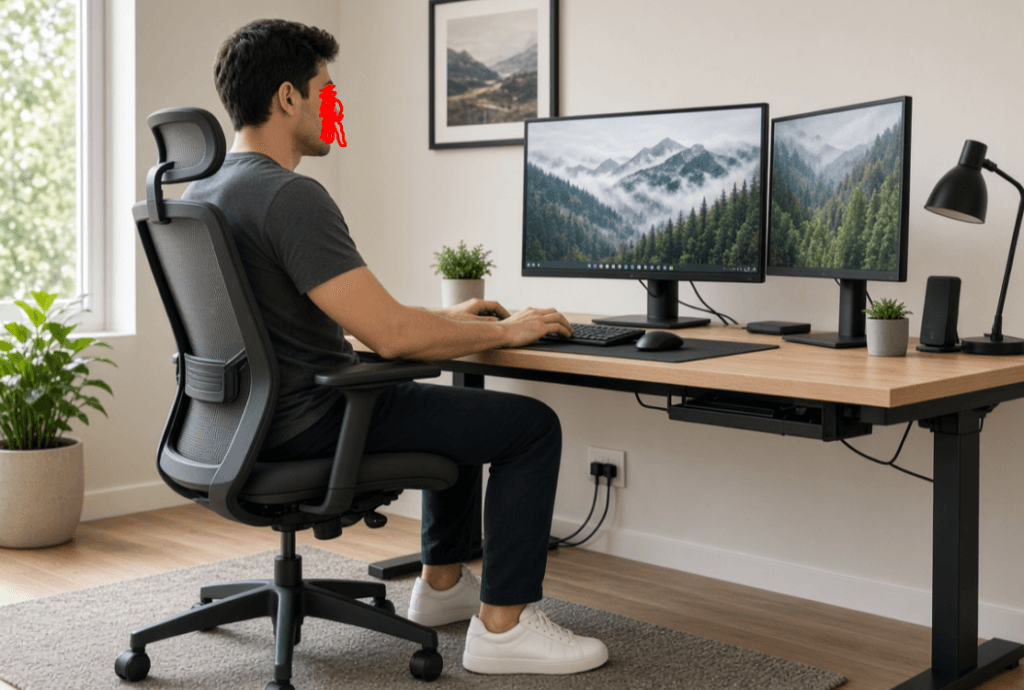
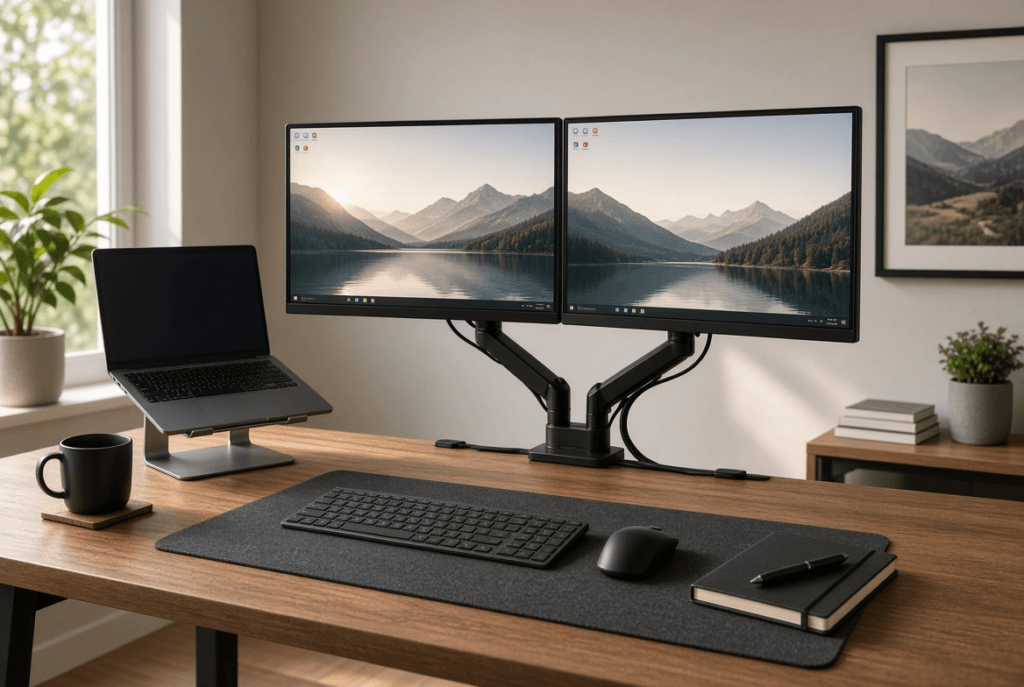
A dual monitor arm frees desk space and lets you set exact height (top of screens at or slightly below eye level) and distance (roughly arm’s length). Factory stands often sit too low and force neck tilt.
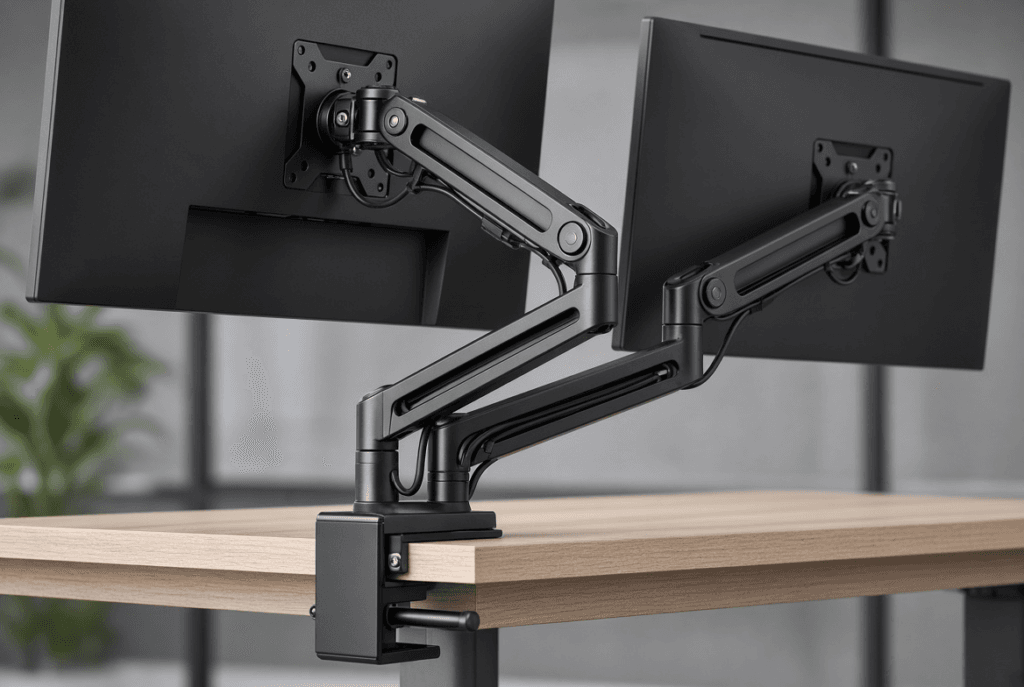
Recommended Amazon dual arms (currently available):
- Budget workhorse: VIVO Dual Monitor Desk Mount (STAND-V002) — holds two 13–30″ monitors up to 22 lbs each, C-clamp or grommet, full tilt/swivel/rotate. Strong buyer feedback on stability for the price.
- Value gas-spring option: Popular HUANUO dual arms (search current listings for 13–32″ models with USB ports) — independent height adjustment and solid construction for most 27″ panels.
- Premium long-term pick: Ergotron LX Dual series (various finishes and stacking/side-by-side versions, e.g. verified listings around B01FW15NTY / related ASINs) — Constant Force technology, 10-year warranty, smooth one-finger movement. Widely praised in long-term reviews for not sagging.
These match patterns in verified buyer feedback for home-office use. Always confirm VESA compatibility (75×75 or 100×100 mm on most modern monitors) and weight rating against your specific screens.
Related: 7 Best Amazon Monitor Risers with Storage if you prefer a simpler riser instead of a full arm.
Step 2: Connect the Cables (or Use a Dock)
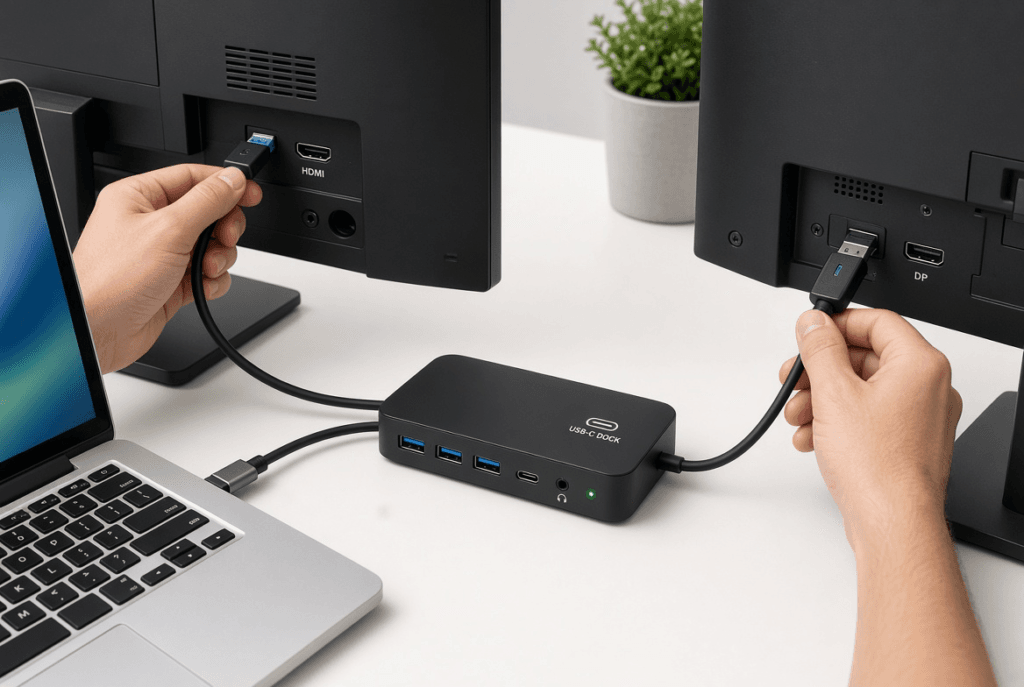
Power everything off first.
- Identify outputs: HDMI, DisplayPort, USB-C (with video support), or Thunderbolt.
- Connect primary monitor to the main port.
- Connect secondary to the second port.
- Power on monitors, then the computer.
Laptop users with few ports: Use a USB-C docking station. One cable handles video to both monitors, charging, USB devices, and often Ethernet.
Recommended: Anker 8-in-1 USB-C Hub Dual Monitor (B0874M3KW4) or similar current Anker dual-HDMI models. Supports dual displays (typically 4K@30Hz or 2K@60Hz depending on laptop), pass-through charging up to 85W, and extra ports. Buyer patterns note reliable plug-and-play for Windows and limited macOS mirroring behavior.
Use quality cables rated for your resolution and refresh rate. Cheap thin cables can cause flickering at higher settings.
Step 3: Configure Display Settings
Windows
- Right-click desktop → Display settings.
- Click Detect if the second screen is missing.
- Under Multiple displays, choose Extend these displays.
- Drag the numbered boxes to match your physical layout (left/right or stacked).
- Set each monitor to its native resolution. Adjust scaling if text looks tiny (especially on 4K).
- Identify which is the main display and set it as primary.
Press Windows + P for quick projection modes.
macOS
- Apple menu → System Settings → Displays.
- Arrange the displays by dragging the thumbnails.
- Choose Extend or Mirror as needed.
- Set resolution and arrangement so the menu bar sits on your primary screen.
Both systems remember the layout after the first setup.
Step 4: Perfect Ergonomics and Cable Management
- Top of screens at or just below eye level.
- Screens 20–28 inches from your eyes.
- Primary centered; secondary angled so you turn your head slightly, not your whole torso.
- Sit with feet flat, elbows at ~90°, wrists neutral.
Route cables along the arms or use a simple cable spine/tray so nothing hangs or pulls. This keeps the desk clean and prevents accidental unplugging.
For more on neck-friendly setups, pair this with a good chair from our Amazon office chairs for back pain guide and consider a laptop stand if one screen is still your laptop (category: Amazon laptop stands).
External ergonomic reference: Mayo Clinic office ergonomics guidance on monitor placement reinforces eye-level positioning.
Step 5: Fine-Tune and Test
- Match brightness and color temperature across both screens if possible.
- Test window snapping (Windows Snap Assist or macOS Stage Manager/window tiling).
- Optional free tools: Microsoft PowerToys (FancyZones for custom layouts) or DisplayFusion for advanced multi-monitor control.
- Run a full workday simulation: documents + browser + video call to confirm comfort.
FAQ
Do I need matching monitors?
Matching size and resolution looks cleaner and avoids scaling headaches, but mixed setups work fine if you set scaling per display.
Can my laptop drive two external 4K monitors?
It depends on the GPU and ports (Thunderbolt 3/4 or multiple high-bandwidth outputs help). Many mid-range laptops handle dual 1440p or dual 4K@30Hz easily via a dock.
Is a dual arm better than two single arms?
A dual arm uses one clamp and often looks cleaner. Two singles give more independent positioning. Both are valid; choose based on desk edge space.
What if Windows doesn’t detect the second monitor?
Try a different cable/port, update graphics drivers, or use the Detect button. Restart after connections.
How much desk space do I need?
Two 27-inch monitors side-by-side need roughly 48–55 inches of width plus depth for arms. Measure first.
Should I go ultrawide instead of dual?
Ultrawide eliminates the center bezel and can feel more immersive for some workflows. Dual gives independent windows and is often cheaper for the same total real estate. See our monitor category for comparisons.
Do monitor arms work with standing desks?
Yes — most clamp or grommet mounts work on standing desks. Confirm weight capacity and desk thickness.
Conclusion
Setting up dual monitors for a home office is straightforward once you match ports, cables, and physical placement. Start with a solid dual arm such as the VIVO STAND-V002, add a reliable dock like the Anker dual-HDMI models if needed, extend your displays in system settings, and dial in eye-level height.
The result is more screen real estate, less tab-switching, and better posture when the top of the screens sits at eye level. Cross-check related gear on TechRigReview.com — monitors, risers, chairs, and laptop stands — to finish the setup.
Measure your desk, confirm VESA and weight ratings, and you’ll have a productive dual-monitor home office that stays comfortable for long work sessions.
As an Amazon Associate I earn from qualifying purchases.

MD.HASAN is an experienced SEO expert and amazon products review writer passionate about helping people find right products on amzon for buy without confusion. With 4 years of hands-on experience in content strategy and search engine optimization, he specializes in writing SEO-friendly blog posts that rank, engage, and convert.