🔗 Affiliate Disclosure: As an Amazon Associate, Tech Rig Review earns from qualifying purchases. Links on this page may be affiliate links — at no extra cost to you.
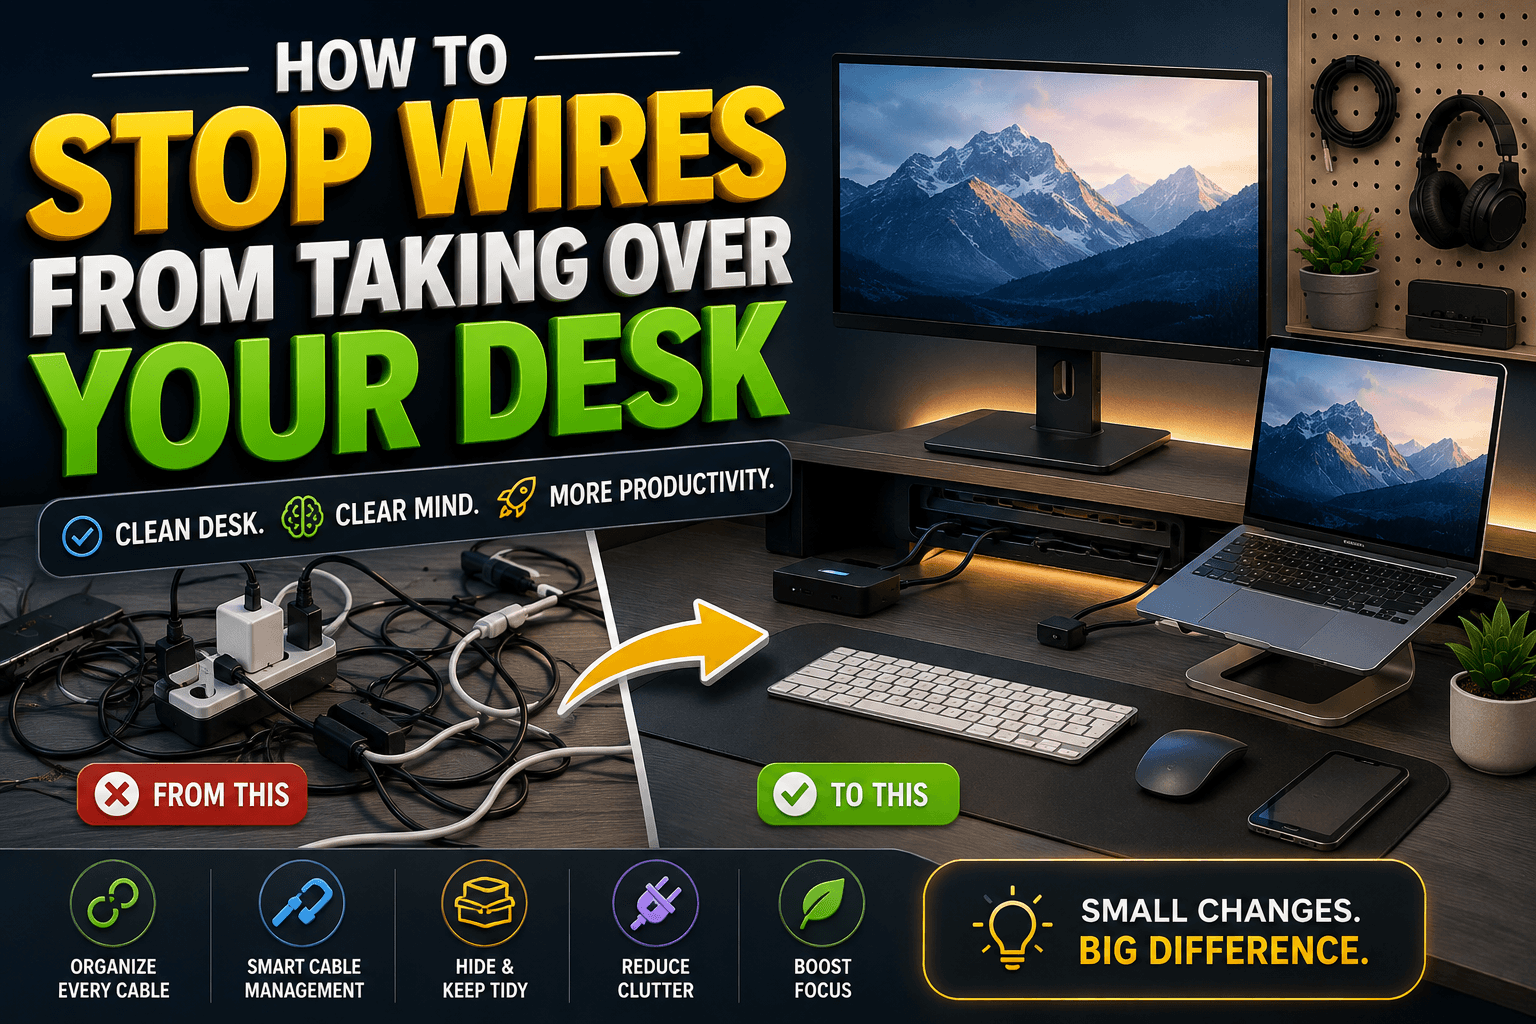
Tired of tangled cords? Learn how to stop wires from taking over your desk with a simple, repeatable system — plus the exact products that make it stick.
You clean your desk on a Sunday. By Wednesday, there’s a charging cable draped over your keyboard, a webcam cord tangled with your headphones, and a mystery cable you’re pretty sure powers something important but can’t identify without unplugging it and finding out the hard way.
If that sounds familiar, the problem usually isn’t that you’re messy. It’s that most desks were never actually designed with a system for where cables go — so every new device just adds one more loose cord to a pile that was already disorganized to begin with.
This guide walks through a simple, repeatable system to stop wires from taking over your desk for good, not just a one-time cleanup that unravels in a week. We’ll cover why cable clutter keeps coming back, the order of operations that actually works, and the specific products — researched directly on Amazon, with real, verified listings — that make each step easy to maintain.
Table of Contents
Why Cable Clutter Always Comes Back
Before jumping into fixes, it helps to understand why a “clean desk day” rarely lasts. Most people tackle cable clutter by bundling cords together with whatever’s on hand — a stray twist tie, a rubber band, tape — and shoving the mess behind the monitor. That’s not a system; it’s a temporary hide.
The problem resurfaces because:
There’s no dedicated place for cables to live. If cables don’t have an assigned spot, every new device or accessory just becomes another loose cord competing for the same open space on your desktop.
Fixes that require tools don’t get maintained. A solution that needs zip ties and scissors every time you add a cable gets skipped after the first attempt. A sustainable system uses reusable, adjustable components you can open and reclose in seconds.
The power strip is usually the real culprit. Most desk clutter radiates outward from one central point: the power strip or surge protector everything plugs into. If that stays exposed on the desktop or floor, the mess around it will always creep back.
Cables get added faster than they get organized. New monitor, new webcam, new charger — cables accumulate continuously, but organizing usually happens in one-off bursts. A system needs to make it just as easy to add a new cable correctly as it is to leave it loose.
With that in mind, here’s the order of operations that actually solves this instead of just delaying it.
Step 1: Start With the Power Source, Not the Cables
It’s tempting to start by grabbing handfuls of loose cords, but the more effective starting point is the power strip itself — since almost every cable on your desk eventually connects back to it.
The D-Line Cable Management Box is built specifically to hide a power strip and the tangle of plugs around it inside one enclosed box. It’s made from ABS plastic with rear cable entry and exit slots, so cords can pass in and out cleanly instead of spilling out around an open power strip. Setting your power strip inside a box like this before organizing anything else means every cable coming from your monitor, laptop charger, or desk lamp already has a single, contained destination — instead of six loose plugs sitting exposed on the floor or desktop.
This single change often does more visual work than any other single step, because it removes the messiest, most tangled point on the whole desk in one move.
Step 2: Route the Bulk of Your Cables Underneath the Desk
Once your power source is contained, the next priority is getting the long cable runs — monitor power cords, laptop chargers, speaker cables — off the desktop entirely and routed underneath, out of sight and out of the way of your workspace.
An under-desk cable tray solves this directly. The Univivi No-Drill Under-Desk Cable Management Tray clamp-mounts underneath your desk without requiring any drilling, giving you a dedicated channel to lay excess cable length and even rest a small power strip. Instead of cords hanging in loose loops or draping down to the floor, they sit contained in a single tray, out of view and out of the way of your legs and feet.
This step matters for more than just appearance — loose cables hanging near the floor are a genuine trip hazard, and cables coiled tightly or pinched against a desk edge can wear down faster over time. Getting the bulk of your cable length up and off the floor addresses both problems at once.
Step 3: Bundle Multiple Cables Into One Clean Line
With your power source contained and your main cable runs routed underneath the desk, you’ll usually still have a handful of individual cables running along the same general path — say, a monitor cable, a webcam cable, and a speaker cable all heading from your desktop to the same general area.
Rather than leaving those as separate, crossing strands, a cable sleeve lets you bundle them into a single, uniform tube. The JOTO Neoprene Cable Management Sleeve is a stretchy, form-fitting neoprene wrap with cutouts every couple of inches, so cables can enter and exit the bundle wherever they need to branch off to their actual devices. You gather the cables together, wrap the sleeve around them, and stick the adhesive backing to the desk or wall — no cutting, no permanent commitment, and it’s just as easy to unwrap later if you add or remove a device.
This step is where a cluttered desk starts to visually read as “organized” rather than just “less bad” — multiple stray cords become one clean line instead of a tangle.
Step 4: Anchor the Cables That Need to Stay in Place
Some cables — your charging cable, your mouse cable, a cord that runs along your desk edge — benefit from being anchored in a fixed spot rather than bundled with others, especially if you need quick, individual access to them.
Small adhesive cable clips solve this without requiring any drilling or permanent hardware. The SOULWIT Self-Adhesive Cable Management Clips stick to the underside or edge of your desk and hold individual cords in place, so a charging cable stays exactly where you left it instead of sliding off the desk edge every time you unplug your phone. They’re designed to remove cleanly without leaving residue, which matters if you rent your space or just don’t want adhesive marks left behind later.
Use these sparingly and intentionally — for the one or two cables you interact with daily, not as a catch-all for every cord on the desk. Clips work best as targeted anchors, while the sleeve from Step 3 handles the bulk bundling.
Step 5: Use Reusable Ties for Anything Left Loose
After the previous four steps, most of your desk cable clutter should already be resolved. What’s usually left are shorter, individual excess-length loops — the extra few inches of slack on a charging cable, or a headphone cord that’s slightly too long for its path.
This is where reusable hook-and-loop cable ties come in, rather than traditional plastic zip ties. The VELCRO Brand ONE-WRAP Reusable Cable Ties let you bundle up excess slack on any individual cord, and because they’re reusable rather than single-use, you can open them back up in seconds whenever you need more length — unlike a zip tie, which has to be cut off and thrown away every time. This also matters because it means your system stays low-friction: adding a new cable to an existing bundle doesn’t require buying more ties or hunting for scissors.
Putting the System Together
Here’s the full sequence, start to finish:
- Contain your power strip in a cable box so every plug has one destination.
- Route long cable runs underneath the desk with a mounted tray.
- Bundle parallel cables heading in the same direction into one sleeve.
- Anchor individual cables you access daily with adhesive clips.
- Tie off excess slack on any remaining cord with reusable ties.
None of these steps requires drilling into your desk, and all of them are reversible if you rearrange your setup later — which matters, because desk setups change more often than people expect (a new monitor, a new keyboard, a different chair height), and a system that can’t adapt just becomes clutter again in a different shape.
A Few Cable Habits Worth Building In
Beyond the products themselves, a couple of small habits keep the system working over time rather than needing a full redo every few months.
Label anything you might need to trace later. If you have multiple similar cables (two HDMI cords, several USB-C cables), a small strip of masking tape with a label at each end saves real time the next time you need to unplug the right one without guessing.
Leave a little slack, not none. It’s tempting to pull everything as tight as possible for a cleaner look, but cables under constant tension at a sharp bend wear out faster at the stress point. A gentle curve, not a hard right angle, extends the life of the cable itself.
Don’t overload a single power strip. Cable clutter and electrical safety are related problems more than people realize — an overloaded strip crammed with high-draw devices is both a fire risk and usually the messiest single point on the desk. The Consumer Product Safety Commission’s guidance on extension cord and power strip safety is a useful reference if you’re not sure how many devices is too many for one strip.
Match your cable system to your actual desk, not a generic one. If you use a monitor arm or a standing desk, your cables need enough slack to allow for movement, not just a straight, taut line — otherwise a cable that looked perfectly organized at one desk height ends up yanked tight or disconnected the next time you adjust it. If you’re setting up either of those pieces, our guides to the best Amazon monitor stands and the best Amazon standing desks cover what to look for, including how much cable slack to plan around.
For a broader reference on general cord and electrical safety around the home, the National Fire Protection Association’s electrical safety resources and Underwriters Laboratories’ guidance on certified products are both good starting points if you want to understand what safety certifications on cords and power strips actually mean.
Frequently Asked Questions
What’s the fastest way to organize a messy desk full of cables?
Start with the power strip, not the individual cables. Containing the power source in a cable box removes the single messiest point on most desks, and it makes every other step easier because you’re no longer working around a tangle of exposed plugs.
Do I need to drill into my desk to install cable management?
No. Most modern cable management products — including under-desk trays, cable clips, and sleeves — use clamp mounts or adhesive backing specifically so you don’t need to drill into furniture, which matters if you rent your space or don’t want to modify your desk permanently.
How do I organize cables without cutting or damaging them?
Reusable hook-and-loop ties and neoprene sleeves are both designed to bundle cables without any cutting, unlike traditional zip ties which need to be cut off to remove. This also means you can easily add or remove a cable later without redoing the whole bundle.
Is cable clutter actually a safety issue, or just a visual annoyance?
Both. Loose cables near walkways are a genuine trip hazard, and an overloaded or overheating power strip buried under a pile of cords is a fire risk that’s easy to overlook when everything is hidden out of sight. Managing cables properly addresses the visual mess and the underlying safety concern at the same time.
How much slack should I leave when bundling cables?
Leave enough slack for a gentle curve rather than pulling cords taut in a straight line, especially at connection points. Tight bends held under constant tension wear out a cable’s internal wiring faster over time than a loose, natural curve.
What’s the difference between a cable sleeve and cable clips?
A cable sleeve bundles multiple cables traveling the same general path into one contained tube, which is best for reducing visual clutter across several cords at once. Cable clips anchor a single cord to a fixed point, which is better for a cable you interact with daily and need to find in the same spot every time, like a phone charger.
Can I use this system with a standing desk or monitor arm?
Yes, but plan for extra slack at any point where the desk or monitor moves — a taut cable that looks neat at one height can get pulled tight or disconnected when you raise a standing desk or reposition a monitor arm. Route the fixed, non-moving sections of cable tightly, and leave a deliberate loop of extra length near any moving joint.
How often should I redo my desk’s cable management?
With a reusable system like the one above, you shouldn’t need a full redo — just small adjustments each time you add or remove a device, since clips, sleeves, and ties can all be opened and reused rather than replaced. If you find yourself needing a complete overhaul every few months, that’s usually a sign the original setup didn’t account for how your desk actually gets used day to day.
Final Thoughts
Wires take over a desk not because you’re disorganized, but because most cable clutter gets treated as a one-time cleanup instead of an ongoing system. Starting at the power strip, routing the bulk of your cables underneath the desk, bundling what’s left into a single clean line, and anchoring or tying off anything still loose gives every cable a permanent, logical place to live — one that’s just as easy to maintain six months from now as it is the day you set it up.
The specific products matter less than the order you use them in. Fix the power source first, then work outward, and a genuinely tidy desk stops being something you have to redo every week.
As an Amazon Associate, I earn from qualifying purchases.

MD.HASAN is an experienced SEO expert and amazon products review writer passionate about helping people find right products on amzon for buy without confusion. With 4 years of hands-on experience in content strategy and search engine optimization, he specializes in writing SEO-friendly blog posts that rank, engage, and convert.